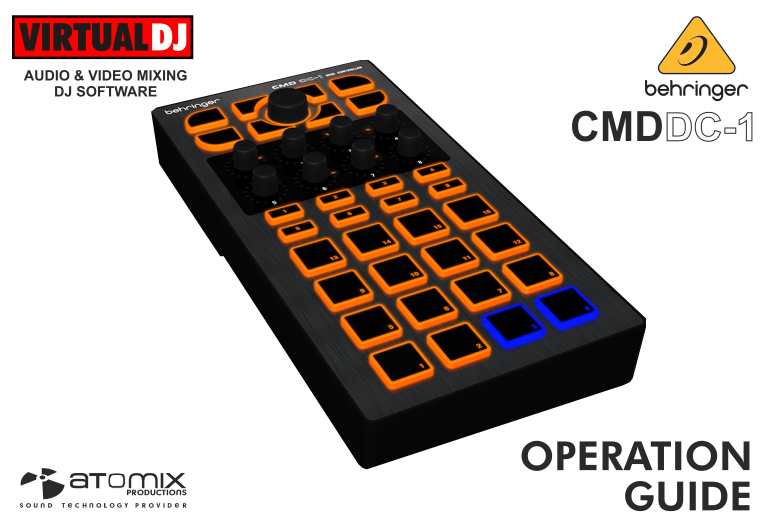
BEHRINGER CMD DC-1
SETUP
Firmware: No firmware update is currently available. However it is always advised to check Behringer http://www.music-group.com/Categories/Behringer/Computer-Audio/DJ-Controllers/CMD-DC-1/p/P0AJH/downloads
Drivers: No drivers are requires (class compliant device).
VirtualDJ 8 Setup
Once VirtualDJ 8 is launched, a Login Window will appear. Login with your virtualdj.com account.
A Pro Infinity or a PLUS License is required to fully use the Behringer CMD DC-1. Without any of the above Licenses, the controller will operate for 10 minutes each time you restart VirtualDJ.
http://www.virtualdj.com/buy/index.html

Click to OK.
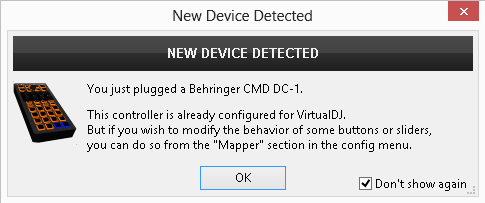
The unit is now ready to operate with VirtualDJ.
Advanced Setup
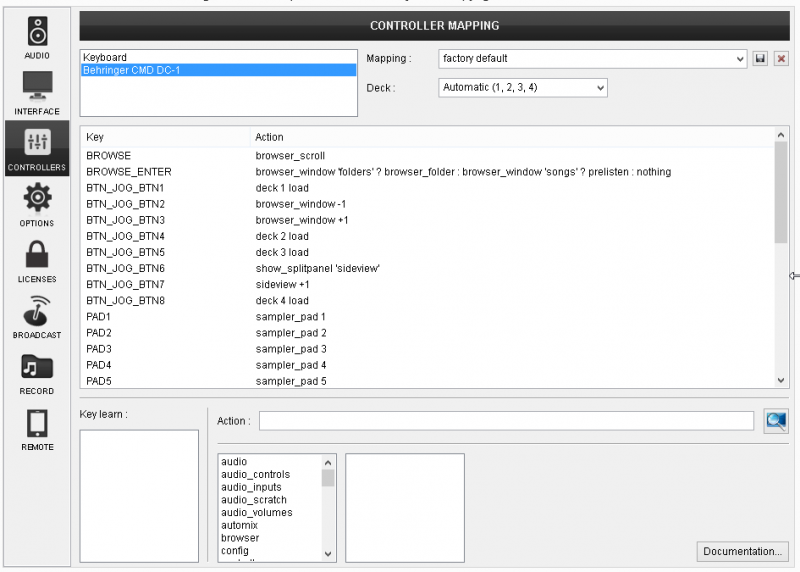
The unit should be visible in the CONTROLLERS tab of Config and the “factory default” available/selected from the Mappings drop-down list. The factory default Mapping offers the functions described in this Manual, however those can be adjusted to your needs via VDJ Script actions.
Find more details at
http://www.virtualdj.com/wiki/VDJ8script.html
AUDIO Setup
The unit does not have a built-in audio interface, therefore no Audio setup is required.
For further software settings please refer to the User Guide of VirtualDJ 8.
http://www.virtualdj.com/manuals/virtualdj8/index.html
BROWSER
The top section of the CMD-DC1 offers control of the VirtualDJ Browser
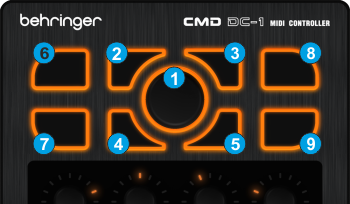
- BROWSER. Turn the encoder to scroll through files and folders. If focus is on the Folders list, push the encoder to set focus to the Songs list. If focus is on any other Browser window, push the encoder to send the selected track to the Prelisten Player. While a track is playing on the Prelisten Player, use the encoder to control the position of the Prelisten Player
- FOLDERS. Press this button to set focus to the Folders list of Browser. If focus is on the Folders list, use the same button to open/close subfolders.
- SONGS. Press this button to set focus to the Songs List of Browser.
- SIDEVIEW. Press this button to set focus to the Sideview List. Press and hold the button for more than 1 second to reveal/hide Sideview
- VIEW. Press this button to cycle through the available views of Sideview (Automix, Sidelist, Karaoke, Sampler and Shortcuts).
- LOAD 1. Press this button to load the selected track on deck 1. Press and hold the button for more than 1.5 seconds to unload the same deck.
- LOAD 3. Press this button to load the selected track on deck 3. Press and hold the button for more than 1.5 seconds to unload the same deck
- LOAD 2. Press this button to load the selected track on deck 2. Press and hold the button for more than 1.5 seconds to unload the same deck.
- LOAD 4. Press this button to load the selected track on deck 4. Press and hold the button for more than 1.5 seconds to unload the same deck
EFFECTS
This section offers effects control for decks 1 to 4
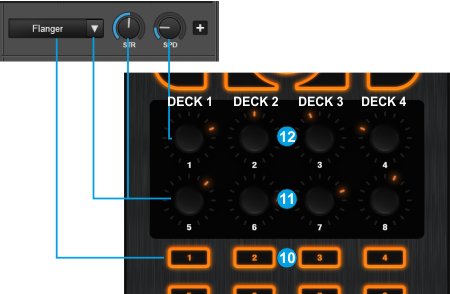
- FX ON: Press this button to activate the selected effect on decks 1 to 4 respectively.
- ENC BOTTOM: Turn the encoder to select the previous/next effect for decks 1 to 4 respectively. If the effect is enabled, the same encoder controls the 1st parameter of the selected effect.
- ENC TOP: Turn the encoder to control the 2nd parameter of the selected effect for decks 1 to 4 respectively.
SAMPLER
This section offers control of the VirtualDJ 8 Sampler.
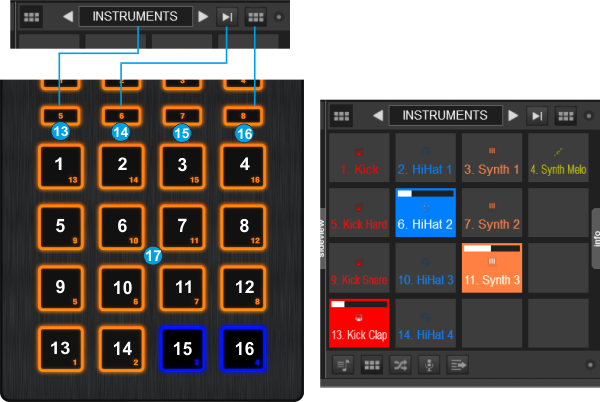
- BANK: Press this button to select the next available Bank of Sampler
- MODE: Press this button to select the next Sampler Trigger Mode. Cycles through On/Off, Hold, Stutter and Unmute.
- PAGE: Opens/closes Sideview and sets focus to the Sampler view of SideView.
- SAMPLER VIEW: Toggles between the List and the Trigger Pad views of Sampler
- PADs. Each one of the 16 buttons triggers a Sample as per the image above. If a sample slot is loaded, the led of the button will illuminate blue and will blink when the same sample is triggered.
